Full Disclosure: I am NOT an expert at Jupyter or Anaconda (which I am using in this project), there may be some bad habits below…
Below is a quick scratchpad of the steps I took to serve Jupyter from a subdomain. Jupyter is running behind NGINX on an OpenStack Ubuntu instance and the domain’s DNS is set up to use Cloudflare to provides convenient SSL support. I was suprised by the lack of documentation for this process, prompting me to document my steps taken here.
Cloudflare
- Set up Cloudflare account, utilizing its provided Name Servers with my domain registration.
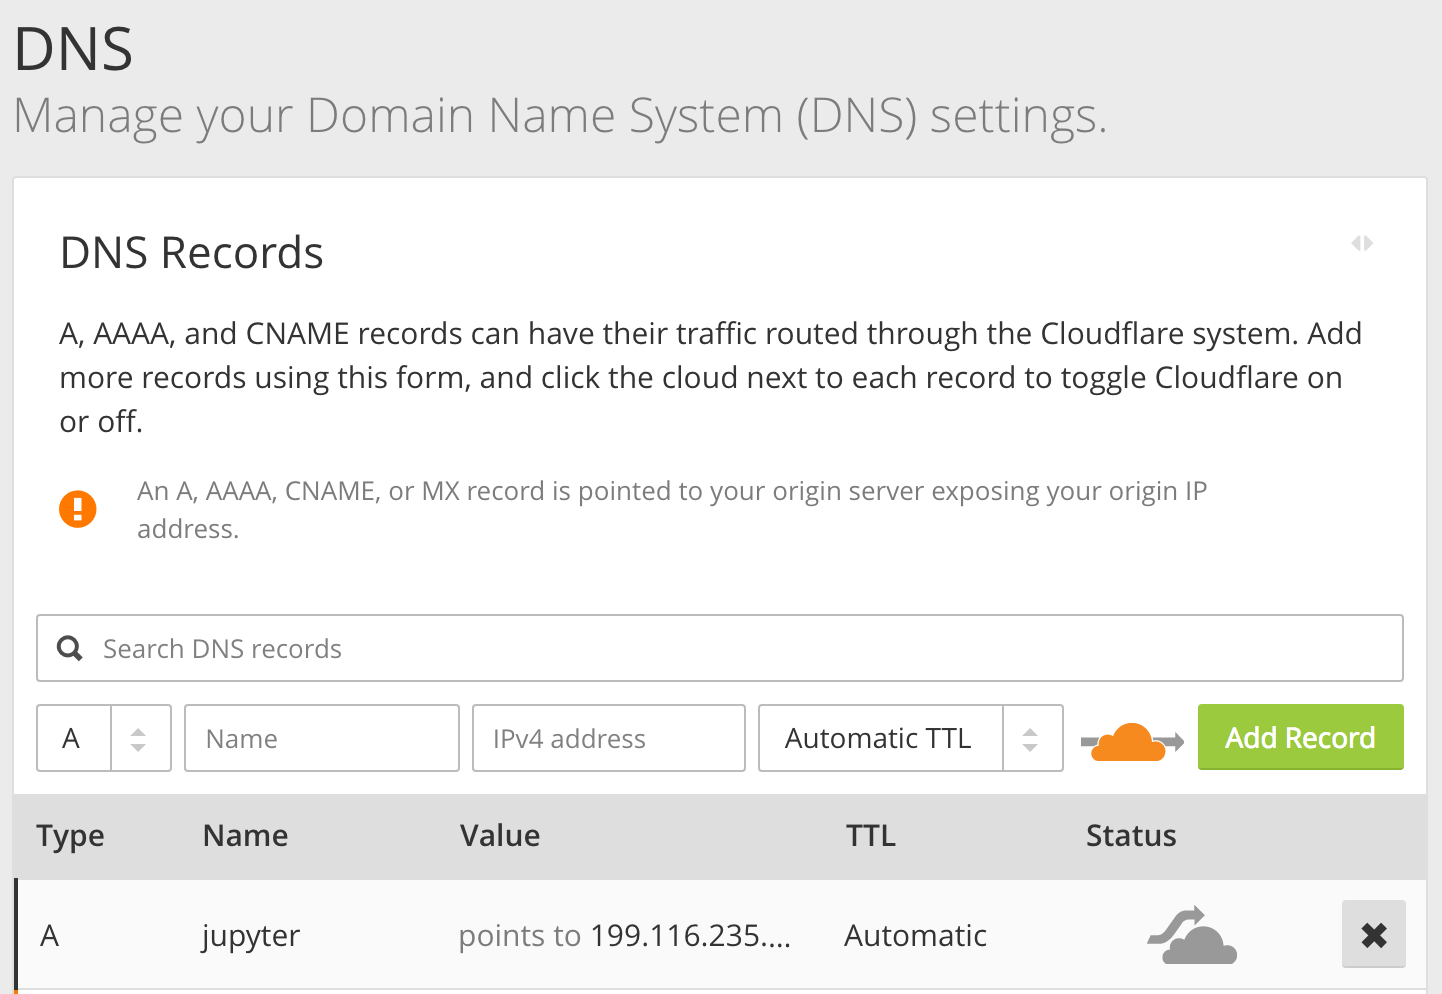
- Set up Cloudflare DNS Record for subdomain (ex
jupyterto server fromjupyter.mydomain.com). In the image below, the DNS entry for the Jupyter server was “greyed-out”, relegating it to “DNS Only” rather than “DNS and HTTP Proxy (CDN)”.. Now that Cloudflare supports websockets, this is no longer necessary and you’re able to take advantage of using Cloudflare as a CDN (admittedly, I’m not sure how useful this actually is, but it’s worth mentioning).
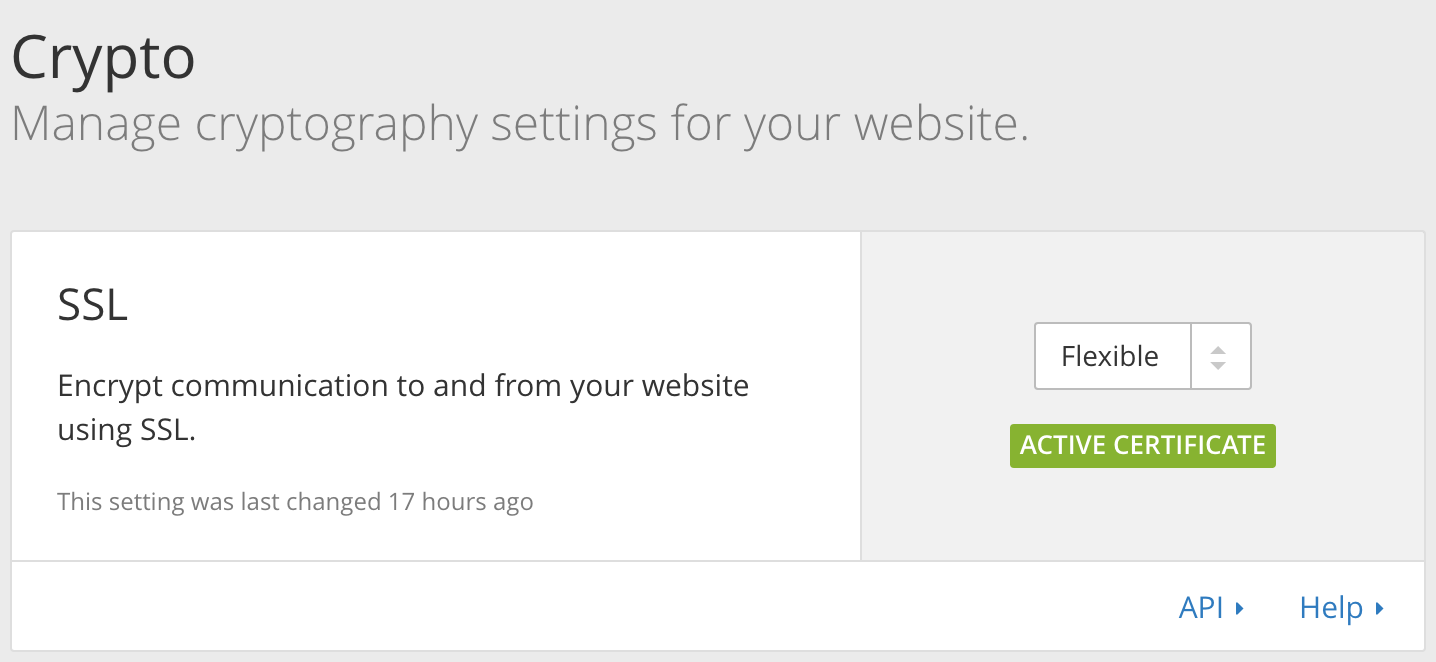
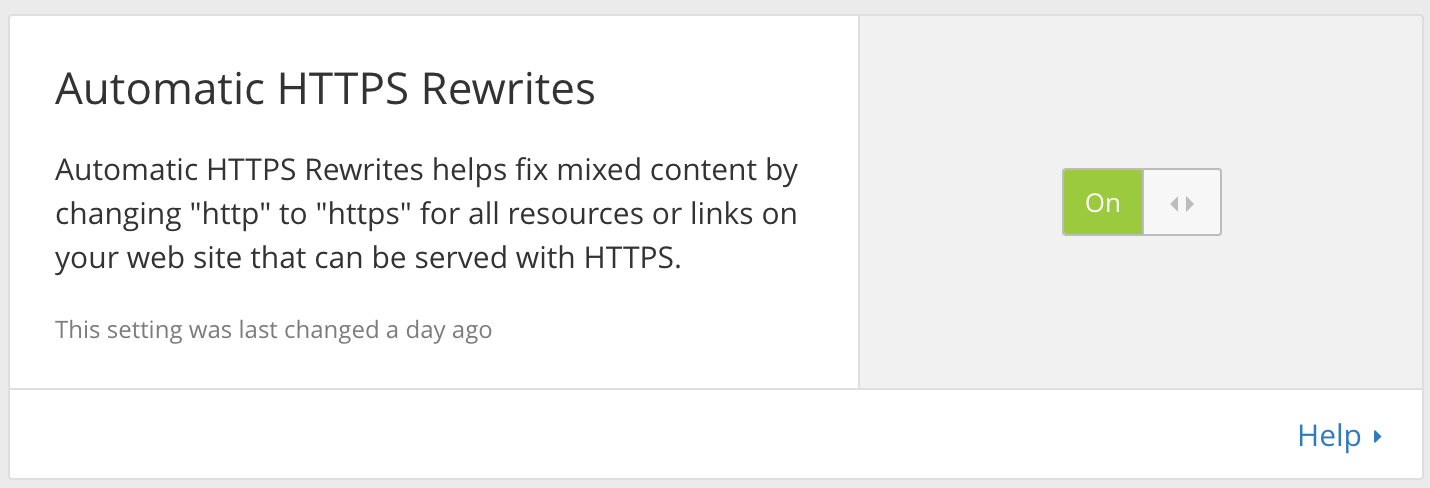
- Ensure Crypto settings are set correctly. You should probably be using Full SSL (Strict) rather than Flexible SSL as shown in the image below, however that is outside the scope of this post.


Install Anaconda
Follow instructions described here.
Set up an Upstart script
On the server, you’ll want Jupyter to start running as soon as the server starts. We’ll use an Upstart script to acheive this.
# /etc/init/ipython-notebook.conf
start on filesystem or runlevel [2345]
stop on shutdown

# Restart the process if it dies with a signal
# or exit code not given by the 'normal exit' stanza.
respawn

# Give up if restart occurs 10 times in 90 seconds.
respawn limit 10 90

description "Jupyter / IPython Notebook Upstart script"
setuid "MY_USER"
setgid "MY_USER"
chdir "/home/MY_USER/notebooks"

script
    exec /home/MY_USER/.anaconda3/bin/jupyter notebook --config='/home/MY_USER/.jupyter/jupyter_notebook_config.py'
end script
Configure Jupyter
Populate Jupyter with required configuration. You should probably auto-generate the configuration first and then just change the applicable variables.
| |
Wire Jupyter up with Nginx
To be able to access Jupyter at port 80, we’ll need to reverse proxy to the service. Nginx can take care of this for us. Jupyter uses websockets to stream data to the client, so some
| |